Business · October 4, 2026
How to Start a Podcast From a Spare Room
4 min
Abstract
A spare room, a clear idea and a routine you can actually keep are enough to launch a show. Here is the order we would tackle it in, from the first concept note to episode three.
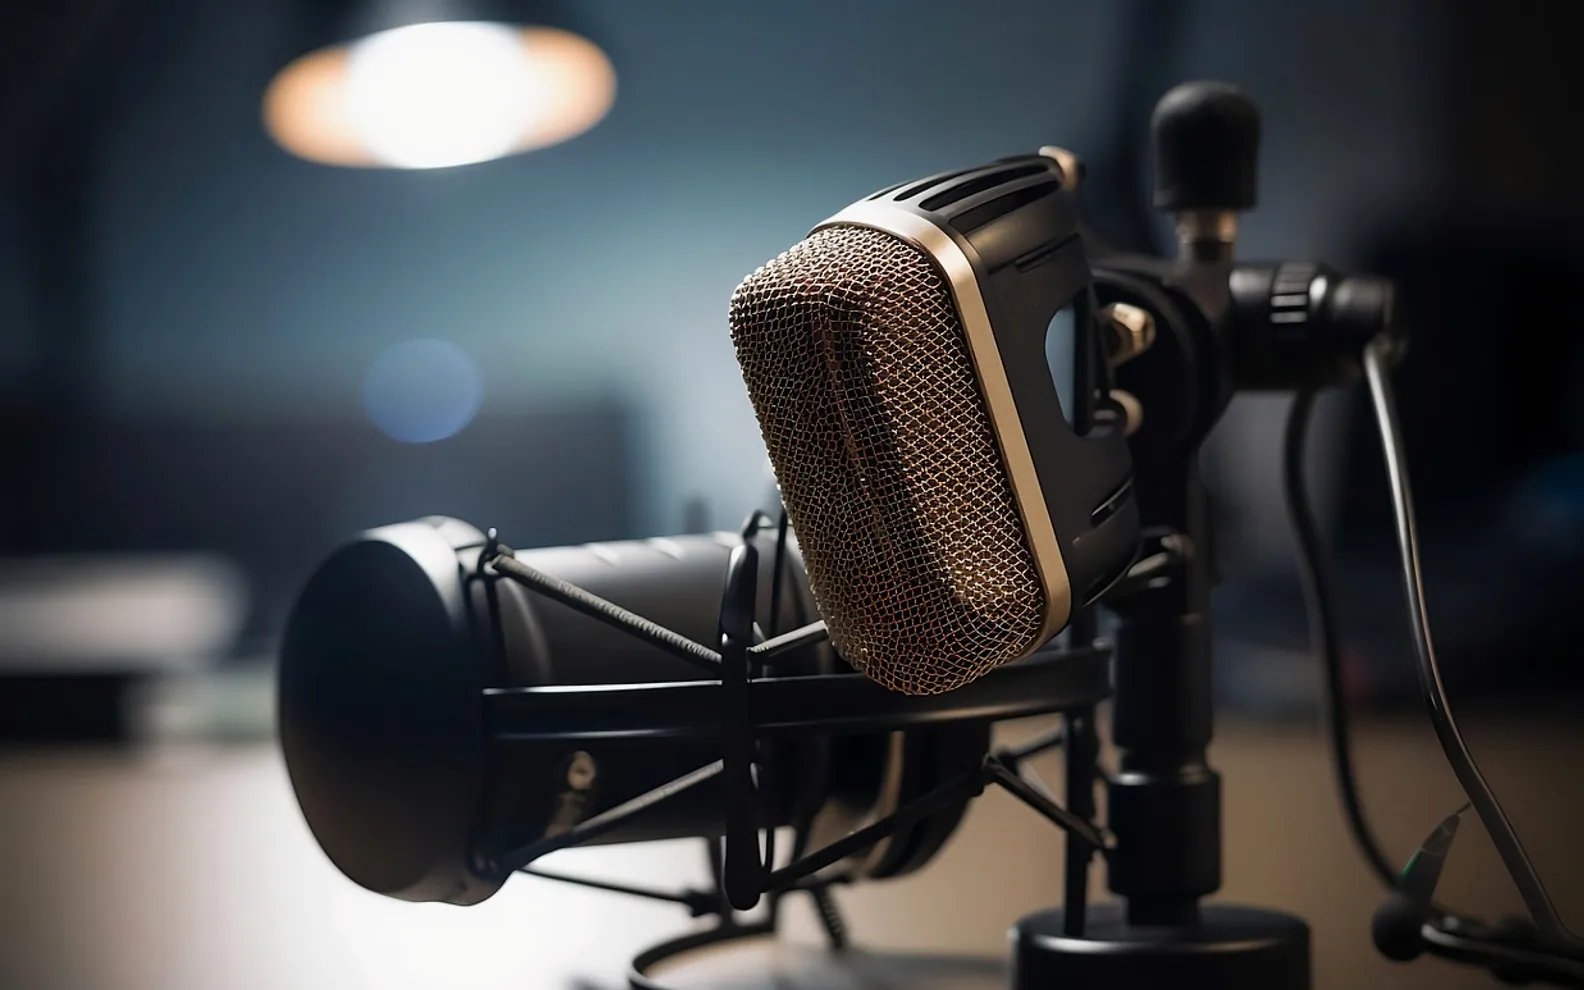
Plenty of people want to start a podcast and then stall at the same spot: they buy equipment before they know what the show is about. A spare room, a box room or even a quiet corner of a bedroom is enough space to make something people enjoy listening to. What matters far more than the gear is a clear idea, a room that does not fight you, and a routine you can repeat for months.
Start with the show, not the shopping list
Before you plug anything in, write one sentence that describes the show to a stranger. Who is it for, what will they get from each episode, and why would they come back next week? If that sentence takes a paragraph, the idea is still too loose.
Next, choose a format. Each option asks something different of you:
- Solo episodes are the easiest to schedule but the hardest to keep lively; you need notes and a strong sense of structure.
- Co-hosted shows feel natural, but two diaries have to line up every week.
- Interview formats bring fresh voices, though booking guests turns into a second job.
Then sketch ten episode titles. If you run dry after four, rethink the angle now rather than after launch.
Turn the spare room into a quiet room
Bare walls, a hard floor and an empty ceiling make a voice sound thin and hollow. You do not need foam panels to fix most of it. Soft, uneven surfaces soak up reflections, so work with what the house already has.
- Record facing into the room's softest corner: a wardrobe full of clothes, a bookshelf or a sofa.
- Lay a rug or a folded duvet on the floor between you and the nearest hard wall.
- Hang a heavy curtain or a blanket behind the screen or the desk.
- Switch off fans, fridges in the next room and noisy chargers before each session.
- Clap once and listen. A short, dull sound is good; a ringing tail means more soft material is needed.
Recording with an open wardrobe of hanging clothes around you is an old trick for good reason. It is not glamorous, but it works.
Pick gear by job, not by brand
Think about what each piece of equipment has to do rather than which model is popular this year. A table makes the decisions easier to compare.
| Job | What to look for | Common mistake |
|---|---|---|
| Capturing your voice | A microphone designed for speech, placed a hand's width from your mouth | Sitting too far back, so the room is louder than you |
| Hearing yourself | Closed-back headphones that do not leak sound | Monitoring through speakers, which feed back into the mic |
| Recording | Free or low-cost recording software you already understand | Learning a complex studio program before the first episode |
| Steadiness | A stand or arm that keeps the mic still | Holding it, which adds handling noise |
If the laptop you record on feels sluggish while the software runs, close other programs and browser tabs before you press record.
Record a pilot nobody will hear
Your first recording is practice. Treat it that way and it loses its power to scare you. Record a full episode from your outline, then listen back the next day with fresh ears. You will notice filler words, a pace that rushes in the middle, or a room that sounds boomier than you expected. Fix one or two things and record again.
A loose outline works better than a script for most people. Write the opening line, three or four talking points and the closing line word for word. Leave everything in between as bullet points so you sound like yourself rather than someone reading aloud.
Edit lightly and keep a template
Editing can swallow whole weekends. Set yourself rules before you start:
- Cut long pauses, false starts and anything you would be embarrassed to hear later.
- Leave small stumbles in; they make you sound human.
- Use the same intro, outro and volume settings for every episode, saved as a project template.
- Export at the settings your hosting platform asks for, and keep a copy of the raw file.
Publish on a rhythm you can protect
A show that comes out every two weeks without fail usually builds more trust than a weekly one that disappears in its second month. Before launch, record three episodes so you have a cushion for busy weeks. Give each episode a clear title that says what the listener will learn, and write show notes that summarise the main points in plain sentences.
When it comes to promotion, short video clips cut from your recordings travel well. The ideas in our piece on thoughtful video production techniques apply just as much to a talking head filmed beside a microphone.
A simple launch checklist
- One-sentence description of the show written and tested on a friend.
- Recording spot treated and tested with the clap check.
- Pilot recorded, reviewed and recorded again.
- Three finished episodes ready before launch day.
- Cover art, show description and a release day decided.
- A note in the calendar for the next recording session.
None of this needs a studio. It needs a room that is a little softer than usual, an idea you care about, and the patience to get slightly better with every episode.