Tech · October 30, 2026
How to Digitize Old Photos: Prints, Slides and Negatives
4 min
Abstract
A shoebox of prints, a carousel of slides and a strip of negatives each need a slightly different approach. Sort first, scan at a sensible resolution, name the files well and keep more than one copy.
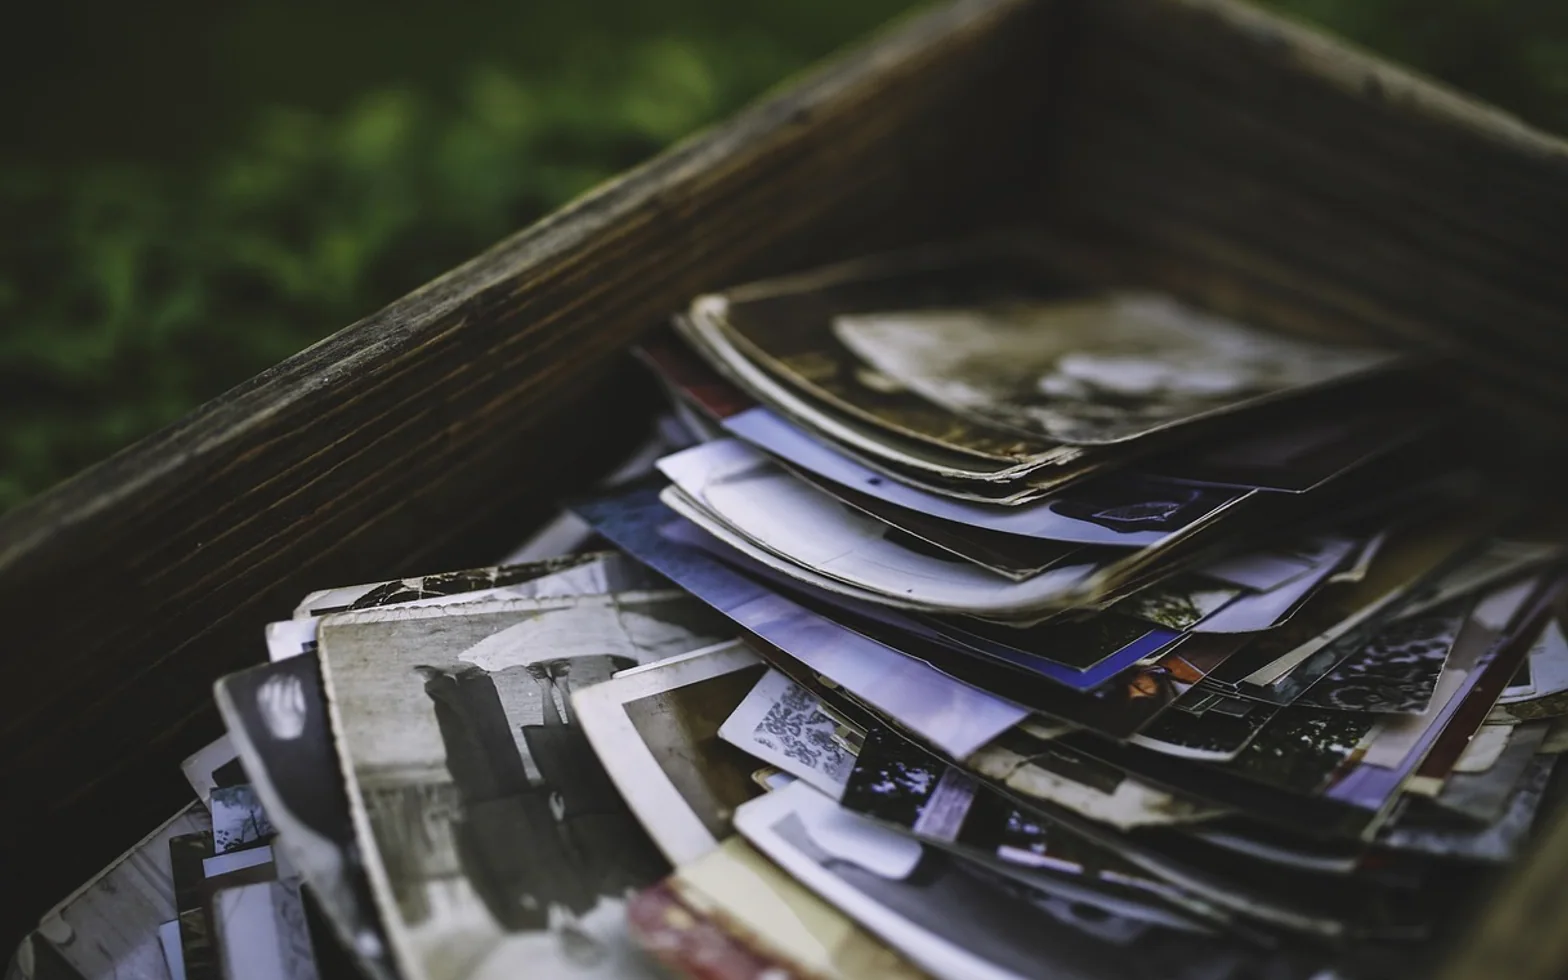
The shoebox usually turns up during a move or after a relative's house is cleared. Inside: curling prints with dates pencilled on the back, a few envelopes of negatives, perhaps a slide carousel nobody has projected in decades. Paper and film fade, stick together and get damp in lofts, so turning them into files is worth doing while the originals are still in decent shape. The work is simple, but it goes much faster with a plan.
Sort before you scan
Scanning everything is the fastest route to giving up halfway. Spread the collection out on a large table and make three piles: photos that matter, duplicates and near-identical shots, and pictures nobody can place. Scan the first pile properly, pick the best frame from each group of duplicates, and set the unknown faces aside for the next family gathering, when someone may recognise them.
While you sort, keep anything written on the backs together with its print. A name, a place or a year pencilled on the reverse is often the only record of who is in the picture, and it is easy to lose once the print goes back into a box.
Choose a method
There are four common routes, and many people combine two of them.
| Method | Suits | Watch out for |
|---|---|---|
| Flatbed scanner | Prints of any size, albums with loose pages | Dust on the glass shows up on every scan |
| Phone scanning app | Quick copies of prints, photos stuck in albums | Glare from glossy paper; lower detail than a scanner |
| Film scanner or flatbed with a transparency lid | Slides and negatives | Slow; film needs backlighting, not a normal scan |
| Mail-in scanning service | Large collections, fragile film | Originals leave your hands; check how they are shipped and returned |
A phone works well for a first pass, or for pictures glued into albums that cannot be removed. Shoot in daylight near a window, hold the phone parallel to the print and tilt the print slightly if the light catches the gloss. For anything you might want to print large later, a scanner gives cleaner detail.
Settings that matter
Resolution
Resolution is measured in dots per inch (dpi). For ordinary prints, around 600 dpi is a widely used setting: enough detail to reprint at the same size or a little larger, without enormous files. Small prints you want to enlarge, and especially slides and negatives, need much more, often 2,400 dpi or higher, because the image area is tiny. Scanning higher than the original can hold only produces bigger files, not more detail.
File format
Save a master copy in a lossless format such as TIFF if storage allows, and make JPEG copies for sharing, emailing and slideshows. If space is tight, a high-quality JPEG is a reasonable compromise for prints. Whatever you choose, never edit the master: crop, straighten and restore colours on a copy.
Colour and cleaning
Scan colour photos in colour and black-and-white photos in greyscale or colour (colour often keeps the warm tone of old paper). Leave automatic dust removal and sharpening off for the master if your software allows it, and apply them to the copy instead. Clean the scanner glass before every session and wipe prints gently with a soft, dry brush or microfibre cloth. Never use liquids on prints or film, and handle negatives by their edges.
Name files so they stay findable
A folder of files called IMG_0001 to IMG_0950 is barely better than the shoebox. A simple pattern solves it: year, month if known, then a short description, for example 1978-07-lake-holiday-03. Putting the year first means the files sort by date in any folder view. When you only know the decade, use it: 1960s-wedding-unknown-guests.
Add names and places to the file's description or caption field as well. If relatives have accented names, type them correctly from the start; the methods in our guide to typing accents on a keyboard save a round of corrections later.
A workable routine
- Set aside one batch of 30 to 50 photos per session rather than the whole box.
- Clean the glass, then scan the batch at a fixed setting.
- Rename the files straight away, while the backs of the prints are in front of you.
- Copy the batch to a second location before you start the next one.
- Put the originals back in acid-free sleeves or boxes, labelled with the same names.
Keep more than one copy
Digital files are only safer than prints if they exist in more than one place. A common rule of thumb is three copies on at least two kinds of storage, with one kept away from home: for example, the computer, an external drive and a cloud folder. Check the copies once a year by opening a few files from each.
Bring the pictures back into daily life
Scanned photos are easy to forget in a folder. Shared family albums let relatives add names and stories, and printed books make good gifts. A screen in the hallway or kitchen is another option: the reasons people choose a digital photo frame apply just as well to restored family pictures as to new phone shots. If the originals are travelling with you to a new country, scan them before packing, as described in our overview of shipping household goods overseas, so a lost carton does not take the only copies with it.